Starting Onions From Seed
If you want to save money starting onions, I encourage you to try starting them from seed instead of buying onion starts. The difference between the two is that onion seeds are just that - seeds. Starts are larger, and look like miniature onions. Seeds need to be started indoors much earlier, generally in late January for zone 6a. Whereas starts are planted outdoors in early Spring. Because of these differences, starts are much more expensive - often a dollar (or more!) per onion start vs a couple of dollars for 75+ seeds per packet.
I’ve heard from multiple people that growing onion from seed is too hard. That they’ve tried multiple times and failed. Please don’t give up! It doesn’t have to be hard. You can have success! Gardening and homesteading are practices of hope and persistence. “There are no gardening mistakes, only experiments.” - Janet Kilburn Phillips.
Don’t overthink it. Below are a few tips and tricks to have a successful onion crop this year!
Select the right type of seed for your area. There are long-day onions and short-day onions. Here in Northern Indiana, we need Long-day varieties. Specific varieties I have had success with include:
Yellow Sweet Spanish from Baker Seeds
Yellow of Parma from Baker Seeds
Barolo (Red) from Johnny’s Selected Seeds - good for storage
Patterson (Yellow) from Johnny’s Selected Seeds - good for storage
New varieties we are trying this year (all from MIGardener):
Red Geneva - great for braiding and extended storage
Walla Walla - sweeter, large globe shapped bulbs, good for salads, sandwiches and grilling
Red Wethersfield - great for salads, canning, and fresh eating
Growing mediums: I’ve used multiple growing mediums (the potting soil) with success. As long as it is well draining, you should be fine. We often mix our own or buy from a wholesale site.
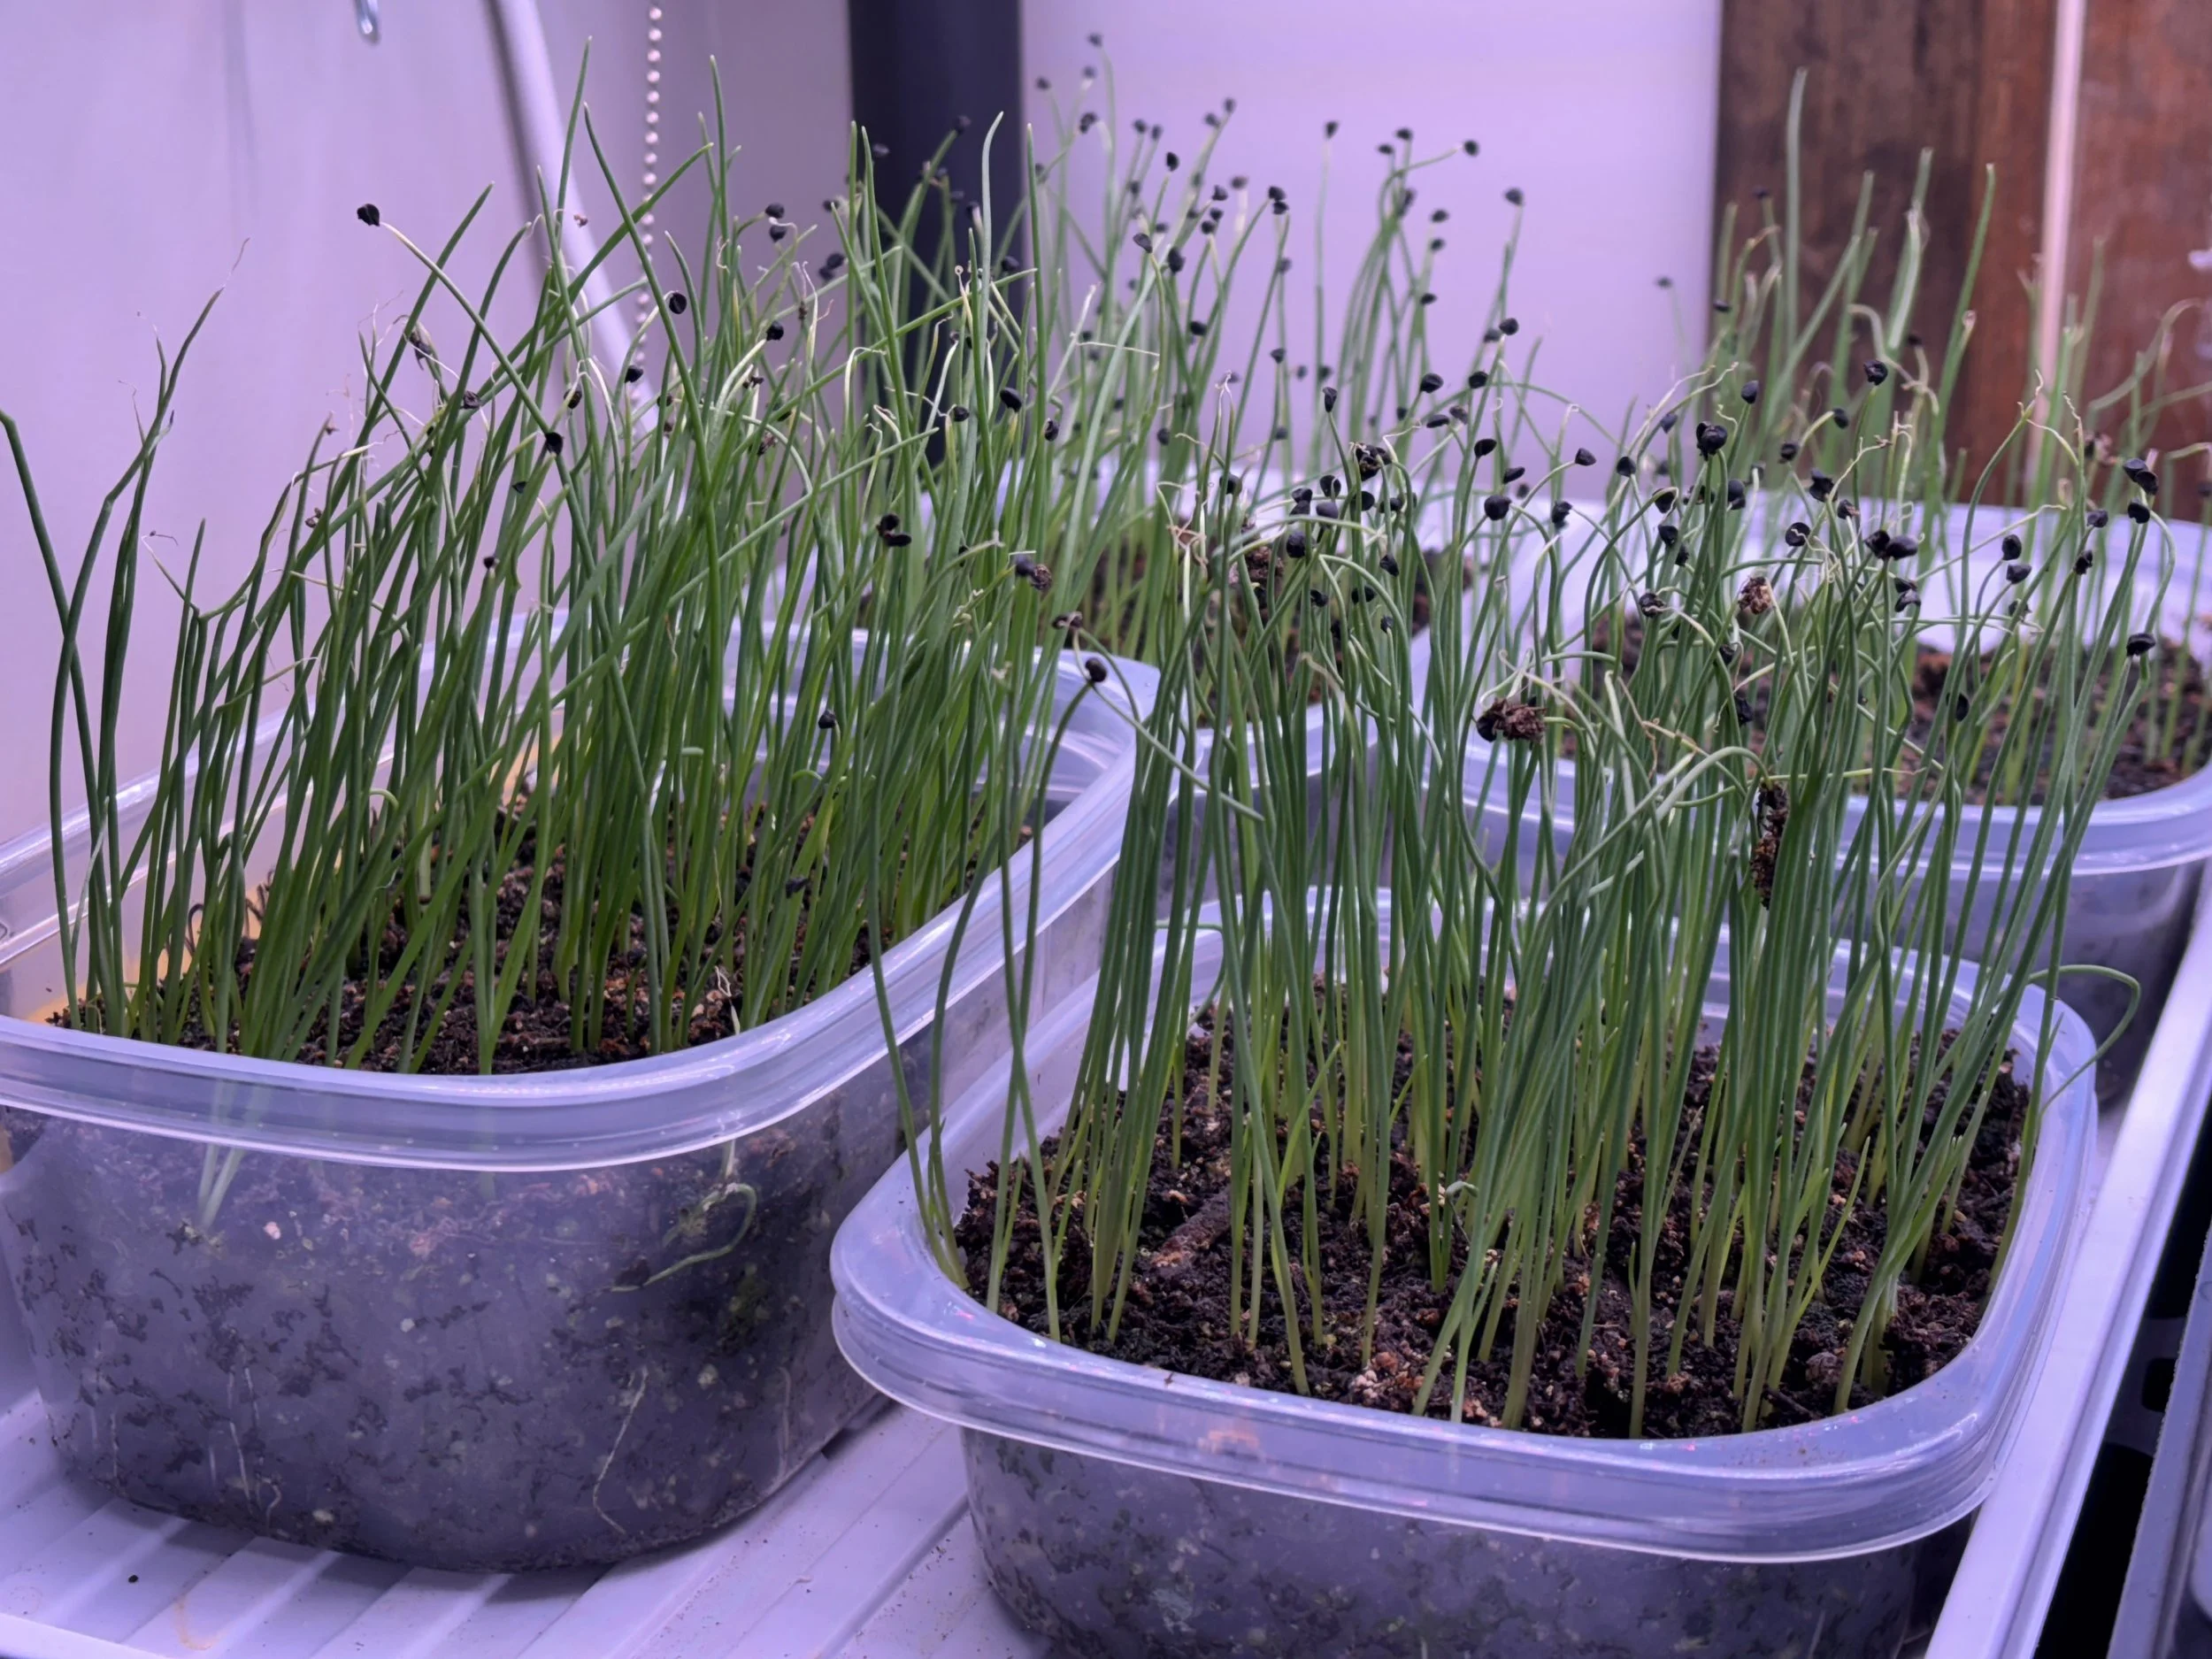
Containers: I start ours by reusing Hillshire Farms lunch meet containers after I’ve poked holes in the bottom for drainage. The containers then sit in a solid bottom tray for bottom watering. “Bottom watering” means you pour water into the trays rather than over the seed and soil. The water gets sucked up through the holes in the containers and waters from below. This encourages strong root development.
Planting: Fill the containers about 3/4 of the way full with moist, not dripping wet, growing medium. Sprinkle a generous amount of seed - I don’t worry too much on spacing. Although if they are close together, this will add a little time later when you are carefully pulling them apart. I’ve often end up with over 100 seeds per container. Then cover the seed with about a 1/4” of growing medium. Place the containers in the trays under lights, and wait!
Temperature: Seeds will germinate best in about a 70 degree room.
Watering: There are a lot of factors that can impact how often you water. For that reason, I don’t want to give you a specific number of days between watering. I often go by feel and look - does the soil look or feel wet? Does the container feel heavy? If so, don’t water yet. If it’s starting to look a little dry and feeling light, water. You’ll get a rhythm on how often they need it.
Hair cuts: That’s right! You will eventually need to “trim” the seedlings. This will help them develop stronger, thicker stems. It also redirects energy into the bulb. I often trim about 3 times before transplanting outside.
Transplanting: After your last expected frost, early May for us, transplant them outside. If you have heavy clay/wet soils, it will be best for you to amend the soil by raising the bed with compost. Onions need drainage to prevent rot and do best in a loose, fertile, sandy loam rich in organic matter. They are heavy feeders, meaning they like a balanced fertilizer at planting. If you have incorporated aged compost to your beds, you should be fine. Adding Bone or Blood meal can also help. Don’t fertilize after the soil has started to crack around the bulb (much later in the season and closer to harvest).
Harvesting: Once the tops of the onions have started to die back and fall over, they are nearing their maturity and it will soon be time to harvest.
Storage: Remove the dirt by gently brushing them off - don’t use water as this can encourage rot. Allow the necks to completely dry before storing indoors. We do this by placing the onions necks down through a livestock panel under a covered porch for a few weeks.